
Lilian's daughter gave her this Christmas ornament. Lilian decided it would be a good project for our class.
Before we started, Lilian reminded us that we needed strong contrasting colors to get the best effect. She also told us to check any flat-backed jewels we used for decorating by baking a sample jewel in a bit of polymer clay. All of our acrylic jewels melted to some degree. Now we know Lilian is right. Jewels inserted in polymer clay should be made of glass or crystal.

Linda's Choice of Colors (and base sheet to the right)
There are several steps shown in the photograph above. To the far right is a bit of the 5 inch by 3 inch strip of White clay covered by a 5 inch by 3 inch strip of Pearl clay. These were rolled together on the thickest setting and set aside while we worked on the next step, a strip of 5 inch by 3 inch Translucent clay. We covered the Translucent clay with bits of colored clay.
Below are DeeDee's Color Choices.

We laid the Translucent rectangles covered with the colors of our choice on the White clay covered with Pearl clay rectangle. We pressed the layers together with our roller, stretched the resulting rectangle a little thinner, then rolled the stack into a jelly roll. Here are the results.

Annette's rolled...and (below) after she sliced off the uneven end

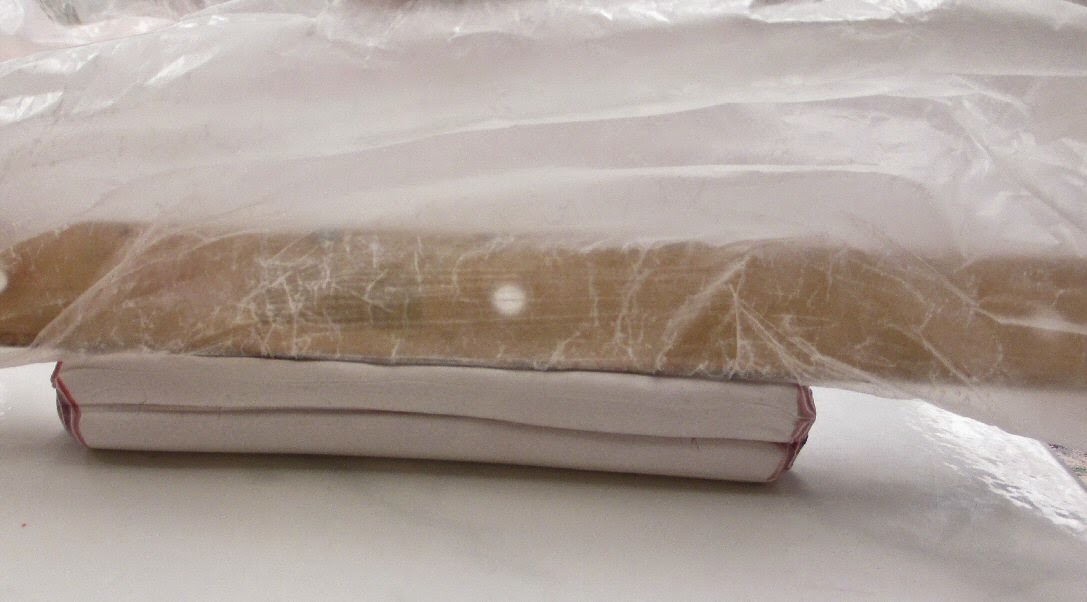
DeeDee's roll after slicing off the uneven end


The next step was indenting the roll to get the chrysanthemum effect. Lilian used a ruler with a metal edge. She wrapped the edge with wax paper so the metal edge would not cut the clay but would be sharp enough to indent it.
In the photo below you can see the lengthwise indentations. The indentations must be done carefully so they are evenly spaced around the cane. It helps to make 4 evenly spaced indentations, then make 4 more indentations between those. The final result will be 8 evenly spaced indentations. It is important to press fairly deeply into the clay so the petal design is strong.

DeeDee's Petals

DeeDee's ball partly covered She decided to attach her slices side by side leaving bits of the clear ball showing. The result was a lacy effect.


The rest of us elected to cover the glass ball completely.
Annette's ball....


My ball...

Lilian's ball...

Now it was time to bake the ball. Lilian gave us cleaned out cat food tins with polymer quilt fill in them. The fill kept the balls from rolling while they were baking at 275 degrees for 25 minutes.

The sample Lilian showed us was sanded until it was very smooth. I settled for semi-smooth.

Polymer clay is wet-sanded because the dust can be hazardous if inhaled. I used 400 grit sandpaper to smooth off the most noticeable imperfections. If you want a smoother surface after sanding with 400 grit, continue sanding with 600 grit.
The next step was adding the jeweled cap. Beside the ball is a small bit of silver clay in which I embedded an acrylic bead. The faceted surface melted, leaving an acrylic blob. On the cap I embedded crystal beads. They are larger than the ones used in the original cap. I had trouble drawing the lines in the clay so opted to skip the lines. Next time I will try again to draw the fine lines. The cap is silver with Translucent clay added to it as well as a tiny scrap of Ultramarine blue. I baked the ball again. I will add a bit more design to the top of the cap with another piece of clay in which I insert a curved wire for hanging.

The original ornament


These are just beautiful! I would have loved to take that class. It was fun to see thanks! :0
ReplyDelete