Friday, January 31, 2014

Snow Rollers in Miami County


Snow Rollers at Garbry Big Woods Sanctuary on January 30, 2014 in late afternoon.


We saw a clip about the snow rollers earlier in the week on the evening news.  Two staff members from the Miami County Parks were talking about the rollers at Garbry Big Woods Sanctuary.  One had been working in the parks for ten years and had never seen snow rollers in a Miami County Park.


We drove out to the sanctuary on Friday and found them in what is usually  grassy mowed area around the parking lot.

While we were there we met some of our friends.


There is an interesting hole in the middle of a lot of them.


This morning there was an article about the snow rollers on the front page of the Troy Daily News.  Included were numerous locations in Miami County where the rollers could be seen as well as an explanation of how they form.

I found a three-step explanation on Wikipedia which was very clear about the necessary conditions.
 1.  The ground must be covered by a layer of ice to which snow will not stick.
2.   The layer of ice must be covered by wet, loose snow with a temperature near the melting point of ice.
3.  The wind must be strong enough to move the snow rollers but not strong enough to blow them apart.

Other areas of the state are also reporting snow rollers in their area.  Among them are Lima, Cleveland, Columbus and Cincinnati.

There have also been report of snow rollers in Illinois, and Pennsylvania.

Tuesday, January 28, 2014

Cadmium Red Medium to Turquoise,( Pthalo Green) Using Opposites on the Color Wheel


This can be done with other Reds and Greens also.  These are  two acrylic tubes of paint that I had on hand.  I used Stephen Quiller's Color Wheel to make my decision.  He constructed his wheel after much study as to which reds and greens mix together best to form the most perfect combinations.  If you search for Stephen Quiller on the world wide web you will find his books and his color wheel.

First, make  a lot of mixes of Cadmium Red Medium and Turquoise which is also called Pthalo Green.  For me, it works best to start from Cad. Red Med.  and add a tiny bit of Turquoise, then a tiny bit more until I am close to Black.  I also start the other direction...Turquoise to Cad. Red Med, again mixing the Red in bit by bit until I am close to Black.  Eventually, I have a page that looks like the one above.

Then I lay down a pure Cadmium Red Medium and a pure Turquoise.


After that, I look among the blackest colors I have mixed and lay the blackest between the pure colors.


Isn't it amazing that two bright colors will mix into Black?  This black is a vibrant black, not a dead black like a pigment from the tube black.  That is why artists take the time to mix it.

The ability to make a vibrant black is a unique feature of Complementary Colors, the colors opposite one another on the Color Wheel.  Yellow and Purple will make black.and so will Orange and Blue.  Yellow-green, the color between Yellow and Green combined with Magenta, the color between Red and Blue will also make black. That is because, like red and green, they are opposite on the color wheel.

The rest of this color experiment is similar to the Gray Value Scale that I posted in.

I looked through the colors I had mixed for steps from pure color to black.

I decided I had too many close to black in the center section so I took out three.


A closer view of the red sequence ...


And the turquoise (Pthalo Green) sequence.


Thursday, January 23, 2014

Common Goldeneyes on Eastwood Lake on January 13, 2014


Thanks to Tom's new camera and lens, he was able to get this photo of the Goldeneyes.  There are two Hooded Mergansers to the left and a couple American Coots in front of the Goldeneyes. Tom's camera has image stabilization.  His old one didn't.  This photo has already been enlarged.  Below is the photo enlarged even more.


Goldeneyes are rarely seen in our area though they are sometimes seen along Lake Erie, especially if the lake is frozen over.  Yes, it's frozen over.

Our winter has been much snowier and much colder than the average.  I think I've mentioned before that we don't get much "average" weather.

Neither of us are particularly fond of very, very cold snowy weather but some of the sightings that come because of it are exciting.

Here are a two photos Tom took of our garage window.


I'm playing around with these photos.  I'm planning to make a collage.

We always have Northern Cardinals at our feeders but we are seeing more than we usually do.


Tuesday, January 21, 2014

From Mixing Colors to Bull's Eye Cane to Leaf, Green Mixing Tips That Can Be Used With Paint, Too.


This is the final result of this polymer clay session.  I made similar leaves when I made the fern cane.


Yellow, blue, and red are the primary colors on the color wheel.  From them, in theory, all other colors can be created.  This is theory only because actual paints and actual polymer clay are colored with pigments which have their own properties.

This is Green Polymer Clay by Premo.  Green is a mixture of yellow and blue.


I had Cadmium Yellow, Ultramarine blue, Sunshine. and Denim Premo in my studio.  Other brands will have different color choices.  

Cadmium Yellow and Ultramarine Blue are available in all types of paint...oils, acrylics, and watercolor.  There are many other yellows and blues available, too. 


                         Cadmium Yellow, Ultramarine Blue


                                     Denim, Sunshine

 Each combination of yellow and blue will make a green but it is hard to make a green like the standard  manufactured green.  Many artists don't like the manufactured green  unless they add another color to it to make it look more "natural".

Here are some of the greens I mixed.  The top two on the left are mixes of Cadmium Yellow and Ultramarine Blue.  The bottom two on the left are mixes of Denim and Sunshine.  To the right are greens made by adding small amounts of red to standard Green .  The green in the middle is Premo Green.


Once I had mixed these samples I started playing around with various combinations.  I would have liked to have had more Premo Green.  But I had used it all.

Finally I came up with the four green below.


I think the one to the far right is the first green that I mixed using Premo Green and a little Cadmium Red.

I wanted different values.  One great thing about a computer is that photos can be converted to gray scale photos.  As I looked at the gray scale, I decided the third green was too close to the fourth one in value.


Because of that, I pulled out the third green and used the greens below.


From these three I cut triangles which I laid side by side, overlapping them a little bit.


I put them through the pasta blender so they were bonded, then began the process of blending them.  This is a variation of a technique known as making Skinner blends.

The sheet must always be folded so the colors lie against themselves.


The sheet is laid smoothly against itself and put through the pasta blender, fold side first.

After this is done time after time, you may get something that looks like this.


You can see the three colors gradually blending, first into stripes, then into a more subtle blend.


When the blend is a smooth gradation, roll it into a log.  Start from the dark end if you want the bull's eye to be dark in the center.  Start with the pale end if you want the bull's eye to be pale in the center.


Gently compress the bull's eye so there are no gaps within it.  You have a bull's eye cane.

Now to use it to make a leaf.

Slice it longwise.


Choose a color for the center vein.  It should be a strongly contrasting color.


After shaping the bull's eye with the inserted vein, it can be wrapped with a contrasting color.

Here is the finished leaf cane.  Individual leaves can be cut off for leaves for a vine or plant.  They can be arranged in a compound leaf or a fern frond.  


For more information on making a fern cane, see my earlier blog.  ( Project One...Polymer Fern Cane)


Friday, January 17, 2014

Tom and I Saw a Snowy Owl!!

Snowy Owls (Nyctea scandiaca) are rarely found in southwestern Ohio so it was exciting when a friend called and  said she was watching a Snowy Owl sitting on a light pole in The Home Depot parking lot in Washington Court House, Ohio.  She was about 30 feet (9 meters)  from the bird which had been sitting there for hours.  Washington Court House is sixty or seventy miles (96-112 kilometers) southeast of here.

There was no way we could get there before dark but the next morning Tom found information about the bird on a birding website.  The bird was still in the area but it was on the roof.  We were free after lunch so we decided to make the  trip.  We hadn't seen a snowy owl since the winter of February of 2001. (I had written the day and year in the field guide I note my sightings in.)

When we arrived in The Home Depot parking lot, there was no snowy owl on any light pole, there were no birders with binoculars and high powered scopes.  Tom called our friend who checked out the birding site with her laptop.  She told us to drive behind the building.

We did and at the far end of that section of parking lot we saw cars and vans and other vehicles parked, noses pointed the fenced edge.  We asked a man standing beside his SUV.  He pointed across the four-lane limited access road.  "It's there on the Walmart roof.  It was perched on the radar dish but now it's down on the roof.  You can see it with binoculars."

Using his directions we spotted the bird.  Tom took this picture with his updated camera steadied on the steering wheel.  (We do a lot of birding from the van since it is very hard for Tom to get out of the van.)


We were amazed when Tom enlarged the area where we knew the bird was.  If you click on the photo below, it will enlarge enough so you can see the head and shoulders of the bird.  Tom estimated the bird was somewhere between a quarter-mile and a half-mile away.  (402-804 meters)


Later, the bird flew back across the highway and landed in a field.  Tom estimated that it was 300 to 400 yards away. (274.32 -365.76 meters)  We saw it clearly with our binoculars.  Tom couldn't get a photo because the weeds blowing in the wind between us and the owl distracted the camera's sensing mechanism.

Back home, he started a search through old photos but didn't find the photos he took in 2001.  Here is a picture of a first year female that is from The Sibley Guide to Birds written and and illustrated by David Allen Sibley (ISBN 0-679-45122-6)


 The map below shows the bird's usual range.


The green dots mean it is rare in those areas.

Wednesday, January 15, 2014

Mixing Colors, Red and Green, in Polymer Clay (technique works for paints also)


 Lilian Nichols tells us to never throw away scraps.  It is possible to use even the most ugly scraps.  This scrap isn't even ugly.  It will make a nice simple leaf.

A simple leaf is my end goal.

I decided to start from the beginning on another green tones bull's eye so you can see the whole process.  This is Part One.

I started with two entire squares of Green Premo.


 I rolled out one square, then ran it through the pasta maker until it was soft and pliable.  I used the thickest setting.  Then I laid a small piece of Cadmium red on it.


I ran the sheet through the pasta maker, folding it and rerunning it through until the red was well mixed into the green.


The green I made was very, very dark.  I could have used half the red that I did use.

I sliced off a rectangle of the green and of the dark green.


When I mixed them thoroughly using the pasta maker, I had another green, the one on the left.


The green was still quite dark so I mixed two parts pure green to one part dark green and this is the second of the four greens below.

The new green was still too dark so I mixed another strip of pure green into it.  I created the second green from the left.


I'm not finished with mixing or choosing my final colors for the bull's eye cane.  

This green to dark green example shows you one principle of color mixing.  If you want a darker green add the red which is opposite on the standard color wheel.  The opposite works, too. To make a darker red, start with red and add a little green.  Red and Green are compliments.  

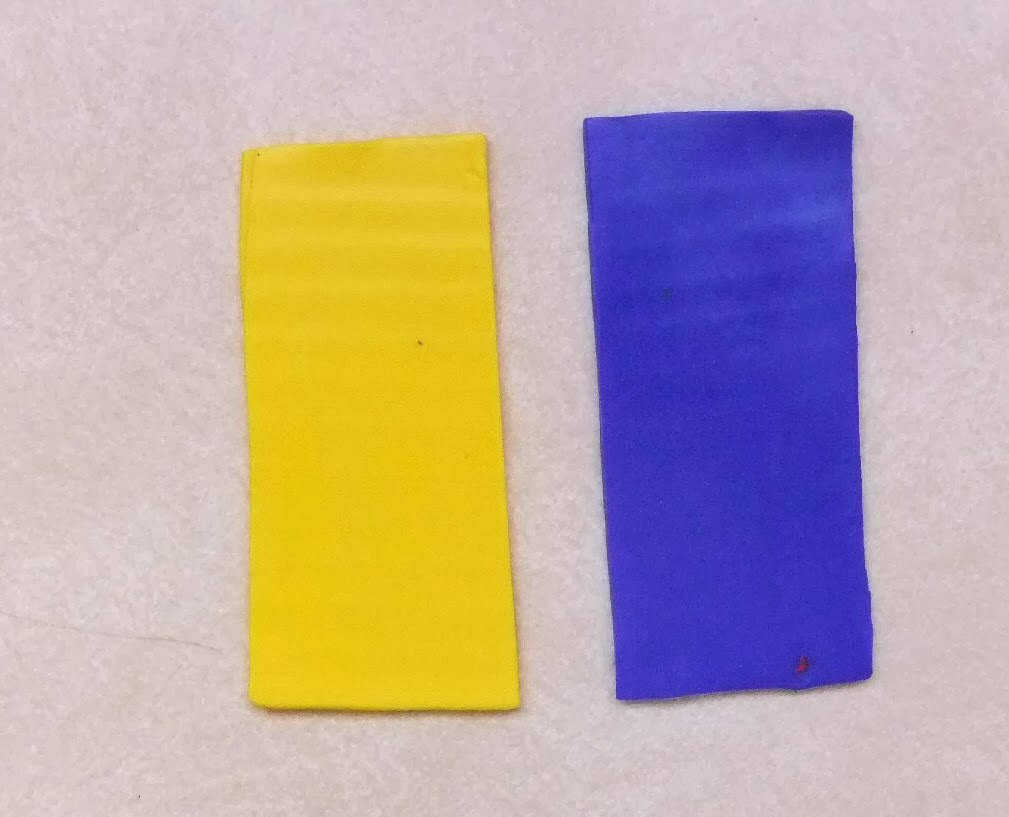
Yellow and Violet are opposites or compliments and so are Orange and Blue.  Use a tiny bit of violet to dull a yellow or a little blue to darken an orange.