This is the final result of this polymer clay session. I made similar leaves when I made the fern cane.
Yellow, blue, and red are the primary colors on the color wheel. From them, in theory, all other colors can be created. This is theory only because actual paints and actual polymer clay are colored with pigments which have their own properties.
This is Green Polymer Clay by Premo. Green is a mixture of yellow and blue.
I had Cadmium Yellow, Ultramarine blue, Sunshine. and Denim Premo in my studio. Other brands will have different color choices.
Cadmium Yellow and Ultramarine Blue are available in all types of paint...oils, acrylics, and watercolor. There are many other yellows and blues available, too.
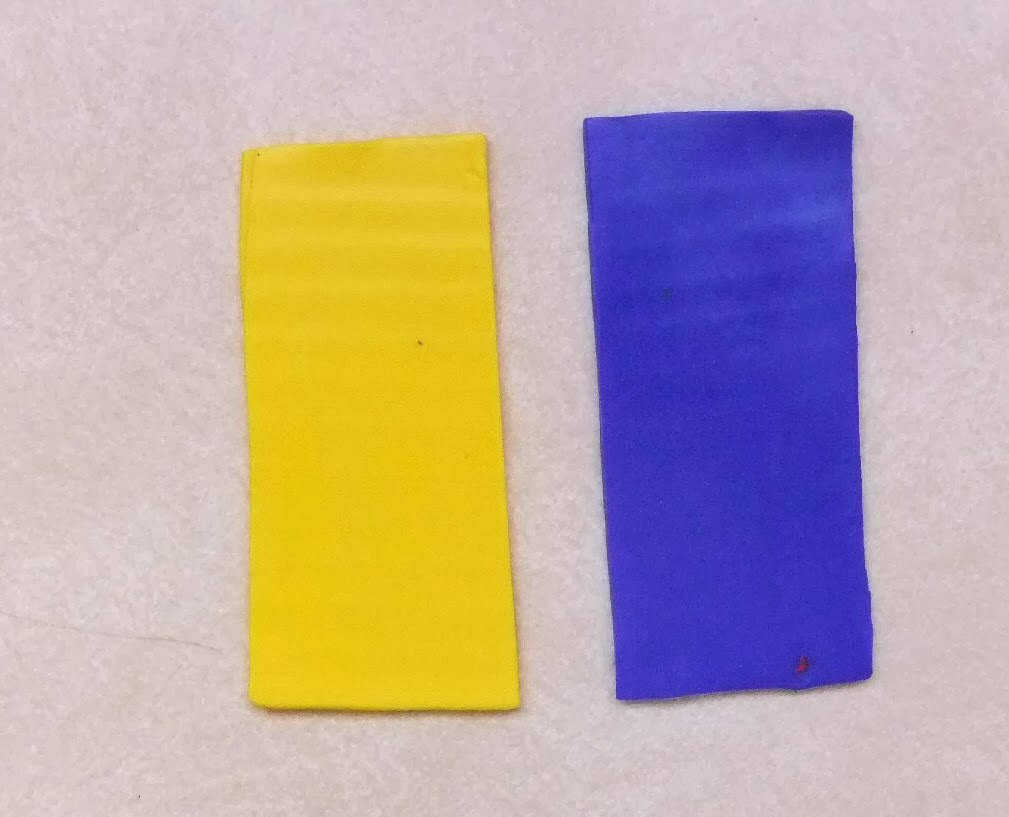
Cadmium Yellow, Ultramarine Blue
Denim, Sunshine
Each combination of yellow and blue will make a green but it is hard to make a green like the standard manufactured green. Many artists don't like the manufactured green unless they add another color to it to make it look more "natural".
Here are some of the greens I mixed. The top two on the left are mixes of Cadmium Yellow and Ultramarine Blue. The bottom two on the left are mixes of Denim and Sunshine. To the right are greens made by adding small amounts of red to standard Green . The green in the middle is Premo Green.
Once I had mixed these samples I started playing around with various combinations. I would have liked to have had more Premo Green. But I had used it all.
Finally I came up with the four green below.
I think the one to the far right is the first green that I mixed using Premo Green and a little Cadmium Red.
I wanted different values. One great thing about a computer is that photos can be converted to gray scale photos. As I looked at the gray scale, I decided the third green was too close to the fourth one in value.
Because of that, I pulled out the third green and used the greens below.
From these three I cut triangles which I laid side by side, overlapping them a little bit.
I put them through the pasta blender so they were bonded, then began the process of blending them. This is a variation of a technique known as making Skinner blends.
The sheet must always be folded so the colors lie against themselves.
The sheet is laid smoothly against itself and put through the pasta blender, fold side first.
After this is done time after time, you may get something that looks like this.
You can see the three colors gradually blending, first into stripes, then into a more subtle blend.
When the blend is a smooth gradation, roll it into a log. Start from the dark end if you want the bull's eye to be dark in the center. Start with the pale end if you want the bull's eye to be pale in the center.
Gently compress the bull's eye so there are no gaps within it. You have a bull's eye cane.
Now to use it to make a leaf.
Slice it longwise.
Choose a color for the center vein. It should be a strongly contrasting color.
After shaping the bull's eye with the inserted vein, it can be wrapped with a contrasting color.
Here is the finished leaf cane. Individual leaves can be cut off for leaves for a vine or plant. They can be arranged in a compound leaf or a fern frond.
For more information on making a fern cane, see my earlier blog. ( Project One...Polymer Fern Cane)


Cool! You almost make me want to go out and get some clay and a pasta machine...but I have to many hobbies already:)
ReplyDeleteSo much fun!!! Thanks for sharing, Pauline!
ReplyDeleteJust discovered your blog from Pinterest - great post! Off to check out the rest of your blog now.
ReplyDeleteThank you for another great article. Where else could anyone get that kind of information in such a perfect way of writing? I have a presentation next week, and I am on the look for such information. Hillview Avenue
ReplyDeleteThank-you very much
ReplyDelete